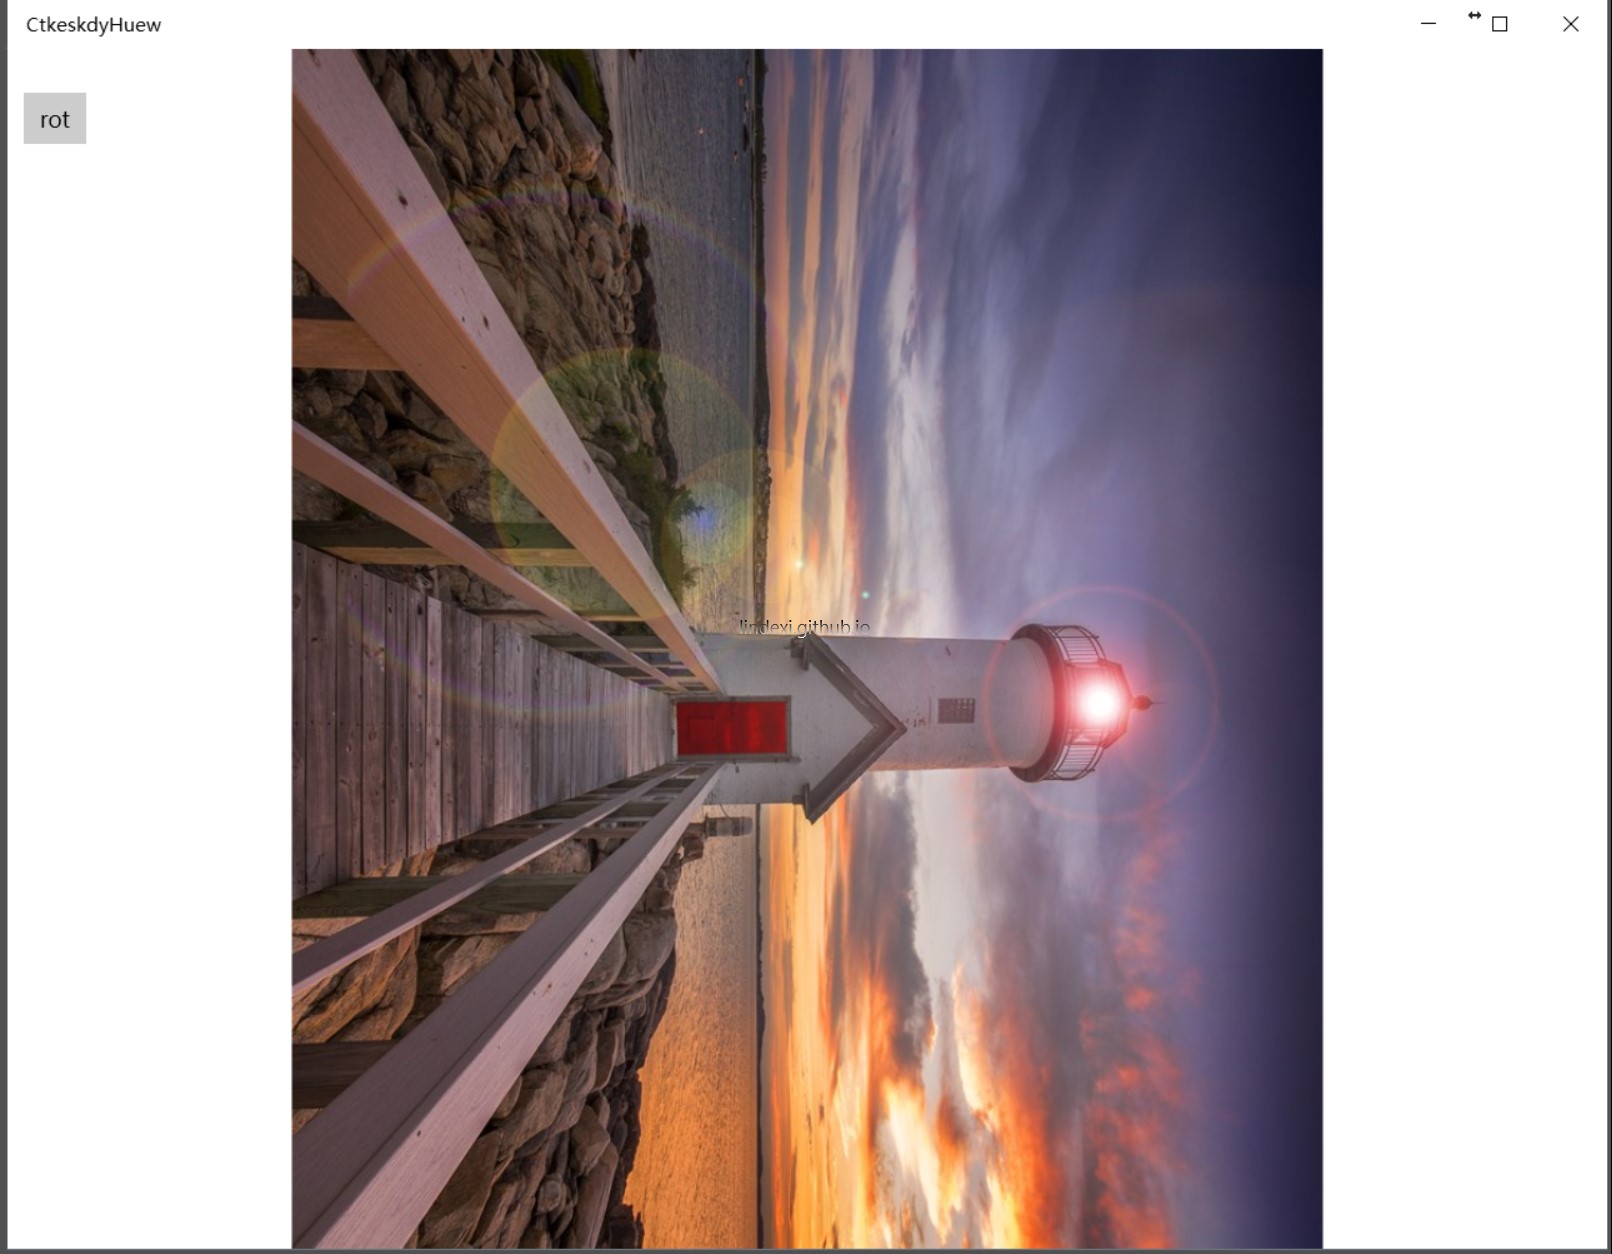
如果需要使用旋转,那么很容易把图片旋转的布局被裁剪。如果需要旋转的控件还在指定的 Grid 内,就需要使用布局的旋转。本文告诉大家如何使用 LayoutTransformer。需要知道,uwp是没有 LayoutTransformer ,这个类是仿照 wpf 的 LayoutTransformer 写的。
请看下面的图片,如果直接使用 Transformer 旋转,那么在元素布局完成再进行旋转,于是这时元素就的显示在布局之外。如果是 LayoutTransformer ,是先把元素旋转,然后进行布局。
原图:

使用 RenderTransform 进行旋转

使用 LayoutTransformer 旋转

可以看到,有时候需要元素旋转之后还在固定的大小内,那么就需要使用这个方法。
如果需要使用 LayoutTransformer 那么需要先创建一个类,这个类用于旋转控件。
public sealed class LayoutTransformer : ContentControl{
}
因为这个类很长,所以我就不直接在这里写了。这个类的代码我放在文章最后。在添加完成这个类,然后打开 App.xaml 添加下面的代码,这样就可以定义一个控件,这个控件支持旋转图片。
    xmlns:common="using:Common"
    <Application.Resources>        <Style TargetType="common:LayoutTransformer">            <Setter Property="Foreground" Value="#FF000000"/>            <Setter Property="Template">                <Setter.Value>                    <ControlTemplate TargetType="common:LayoutTransformer">                        <Grid x:Name="TransformRoot" Background="{TemplateBinding Background}">                            <ContentPresenter                                x:Name="Presenter"                                Content="{TemplateBinding Content}"                                ContentTemplate="{TemplateBinding ContentTemplate}"/>                        </Grid>                    </ControlTemplate>                </Setter.Value>            </Setter>        </Style>    </Application.Resources>
然后就可以在xaml使用旋转,需要先引用。
           xmlns:common="using:Common"
            <common:LayoutTransformer x:Name="jnuTphpltg">                <common:LayoutTransformer.LayoutTransform>                    <RotateTransform Angle="-90" />                </common:LayoutTransformer.LayoutTransform>                <Image Margin="10,10,10,10" Source="Assets/158839197671.jpg" RenderTransformOrigin="0.5,0.5">
                </Image>            </common:LayoutTransformer>
如果需要在代码进行旋转,可以使用下面的代码
jnuTphpltg.LayoutTransform = new RotateTransform() { Angle = 90 };参见:http://igrali.com/2012/09/17/layout-transform-in-windows-8-winrt-xaml/
LayoutTransformer 代码
如果无法看到上面的代码,请看https://gitee.com/lindexi/codes/lrjpk87owdt5nmu1qsa3c36

原文链接: http://blog.lindexi.com/post/win10-uwp-%E4%BD%BF%E7%94%A8-LayoutTransformer
本作品采用 知识共享署名-非商业性使用-相同方式共享 4.0 国际许可协议 进行许可。 欢迎转载、使用、重新发布,但务必保留文章署名 林德熙 (包含链接: https://blog.lindexi.com ),不得用于商业目的,基于本文修改后的作品务必以相同的许可发布。如有任何疑问,请与我 联系。