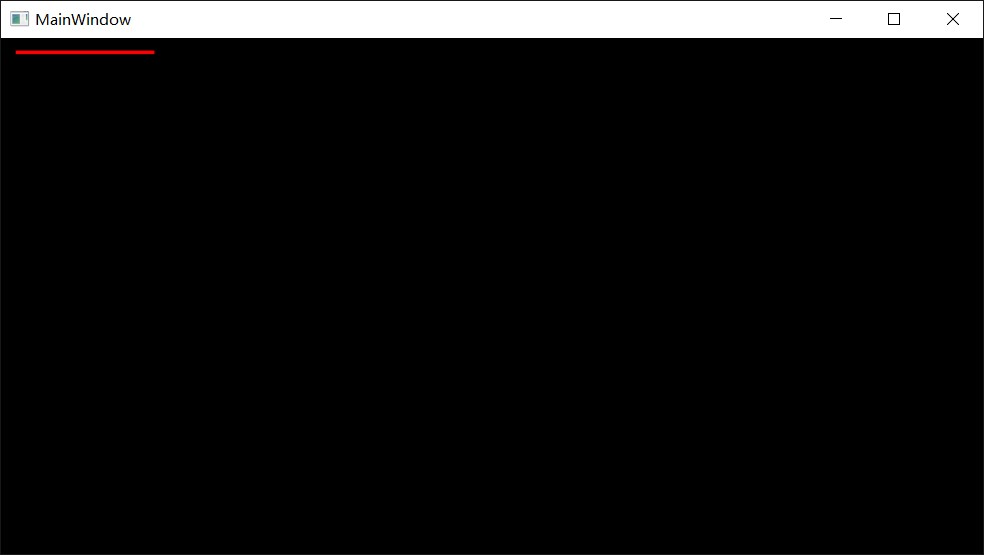
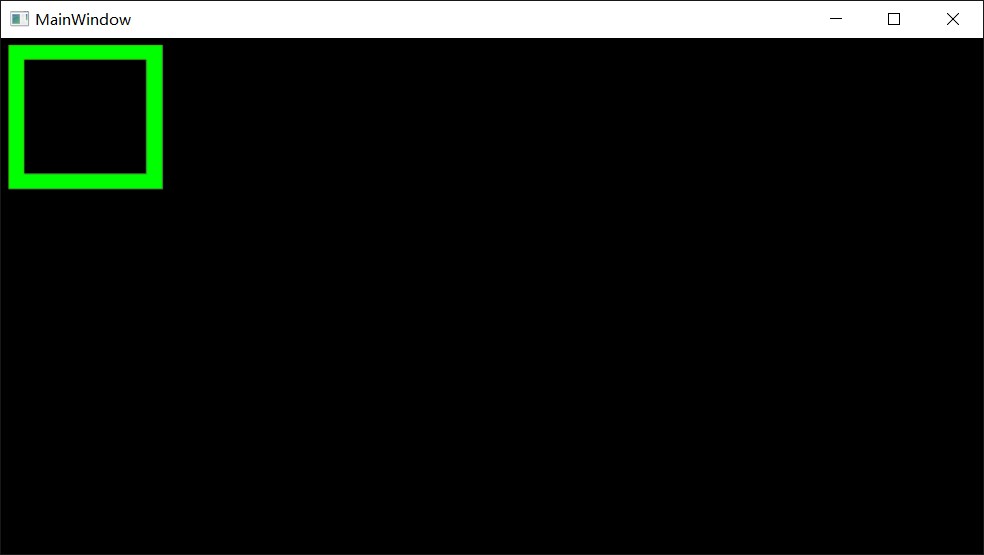
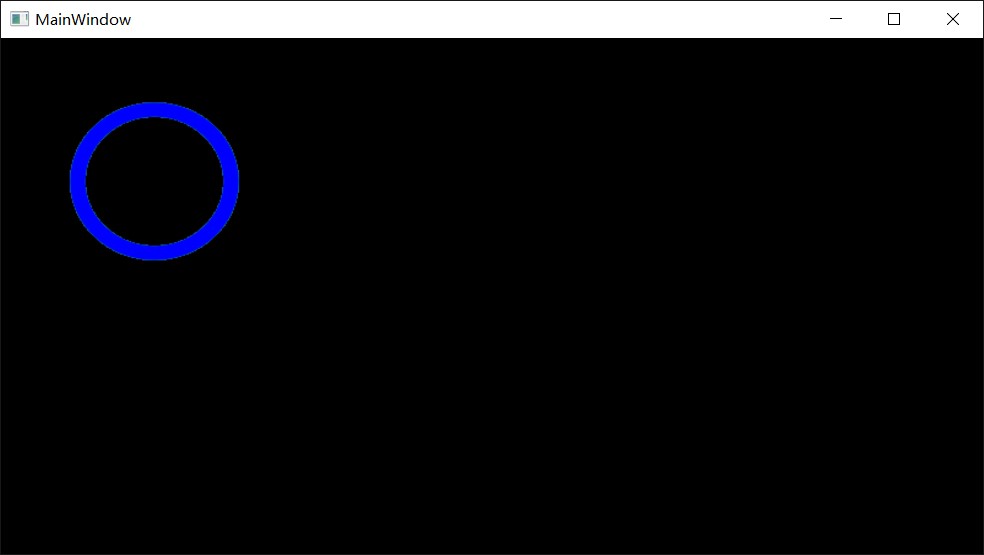
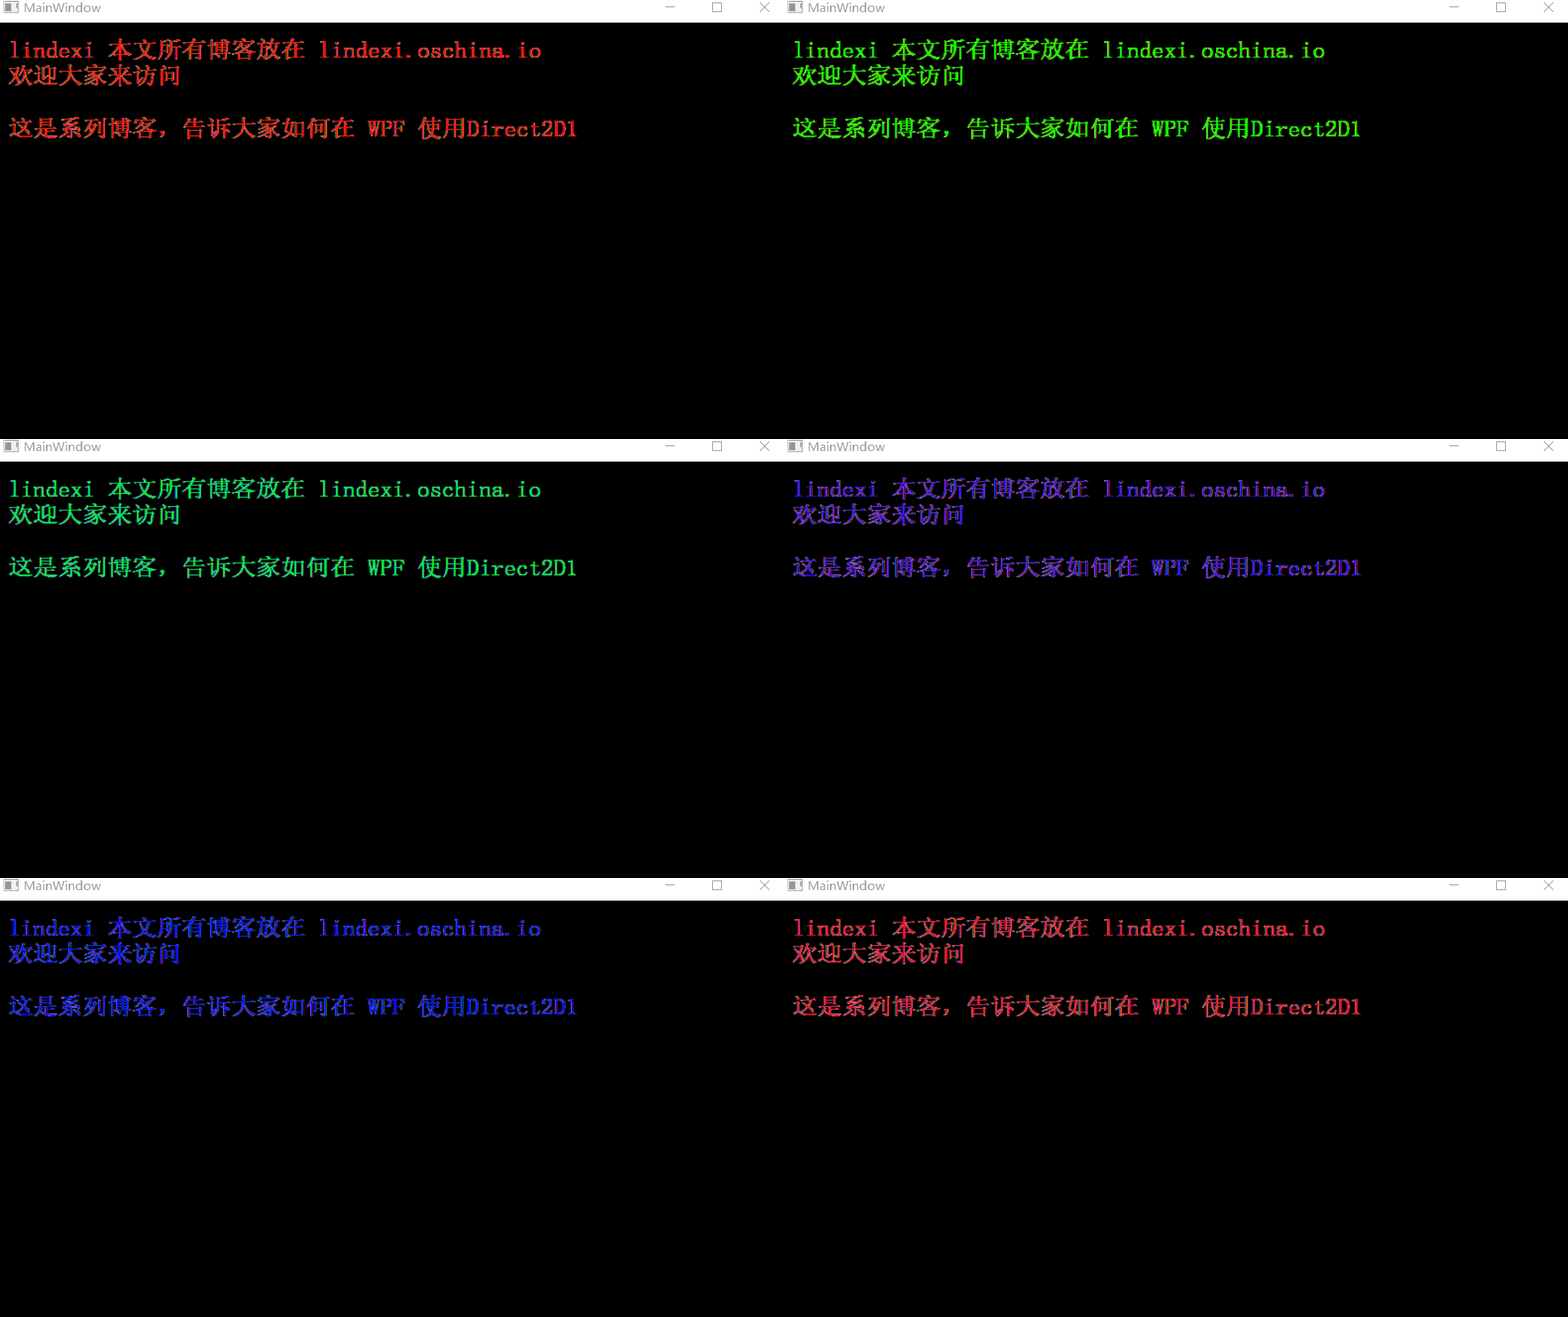
本文来告诉大家如何在 Direct2D1 绘制基本图形,包括线段、矩形、椭圆
本文是渲染相关系列博客中的一篇,为方便读者系统性学习,该系列博客已按照逻辑顺序编排,方便大家依次阅读。本文属于系列博客中,比较靠中间的博客,推荐大家从头开始阅读。您可以通过以下链接访问整个系列:渲染相关系列博客导航
本文的组织参考Direct2D系列教程博客,我在这里对万仓一黍大神表示感谢。
在开始前先告诉大家为何需要使用 Direct2D ,虽然 WPF 也是基于 DX 进行渲染,但是 WPF 做了很多兼容处理,所以没有比直接使用 Direct2D 的性能高。经过测试,在使用下面的所有代码,占用 CPU 几乎都是 0% ,因为没有布局、透明和事件处理,所以速度是很快。
点
在 Direct2D 使用的 点是 Point2F ,传入的是两个 float ,和 Point 差不多。
Point2F 也是一个结构体,所以和 Point 类型差不多
线段
线段需要使用 DrawLine ,方法的签名
    public void DrawLine(Point2F firstPoint 起始点 , Point2F secondPoint 终点, Brush brush 笔刷, float strokeWidth 线段宽度);
    public unsafe void DrawLine(Point2F firstPoint, Point2F secondPoint, Brush brush, float strokeWidth, StrokeStyle strokeStyle 线段样式)
所以使用下面的方法就可以在 (10,10) (100,10) 画出一条宽度为 2 的红线
_renderTarget.DrawLine(new D2D.Point2F(10, 10), new D2D.Point2F(100, 10), _renderTarget.CreateSolidColorBrush(new D2D.ColorF(1, 0, 0, 1)), 2);
上面的代码运行在WPF 使用 Direct2D1 画图入门文章的 OnRendering 方法,为了让大家也可以试试下面的代码,建议大家先去看这篇博客。
关于笔刷会在后面说
StrokeStyle
可以看到上面线段的最后一个参数是 StrokeStyle 那么这个参数是如何创建?在 Direct2D 有很多类都不能直接直接创建需要使用 D2DFactory 或 RenderTarget 才能创建。StrokeStyle 就需要使用 D2DFactory 进行创建。
创建 StrokeStyle 需要参数 StrokeStyleProperties,这个类的构造有两个重载,一个是不需要参数,另一个是需要很多参数。代码请看下面。
public StrokeStyleProperties(CapStyle startCap, CapStyle endCap, CapStyle dashCap, LineJoin lineJoin, float miterLimit, DashStyle dashStyle, float dashOffset)从代码的命名大概大家也可以知道 StrokeStyleProperties 参数的意思,下面先创建一个没有构造函数的来创建 StrokeStyle ,请看下面代码
            var strokeStyleProperties = new D2D.StrokeStyleProperties();
            var strokeStyle = d2DFactory.CreateStrokeStyle(strokeStyleProperties);
            _renderTarget.BeginDraw();
            _renderTarget.DrawLine(new D2D.Point2F(10,10),new D2D.Point2F(100,10), _renderTarget.CreateSolidColorBrush(new D2D.ColorF(1, 0, 0, 1)),2, strokeStyle);
            _renderTarget.EndDraw();
需要注意,创建 strokeStyle 的工厂需要和创建 RenderTarget 一样,如果使用不一样的工厂就会出现下面异常。
Microsoft.WindowsAPICodePack.DirectX.Direct2D1.Direct2DException:“EndDraw has failed with error: 一起使用的对象必须创建自相同的工厂实例。 (异常来自 HRESULT:0x88990012) Tags=(0,0).”所以需要修改WPF 使用 Direct2D1 画图入门文章的代码,把 D2DFactory 写为字段
        public MainWindow()        {            InitializeComponent();
            CompositionTarget.Rendering += OnRendering;
            Loaded += (s, e) =>            {                var d2DFactory = D2D.D2DFactory.CreateFactory(D2D.D2DFactoryType.Multithreaded);
                var windowHandle = new WindowInteropHelper(this).Handle;                var renderTarget = d2DFactory.CreateHwndRenderTarget(new D2D.RenderTargetProperties(),                    new D2D.HwndRenderTargetProperties(windowHandle,                        new D2D.SizeU((uint) ActualWidth, (uint) ActualHeight),                        D2D.PresentOptions.RetainContents));
                _redBrush = renderTarget.CreateSolidColorBrush(new D2D.ColorF(1, 0, 0, 1));
                _greenBrush = renderTarget.CreateSolidColorBrush(new D2D.ColorF(0, 1, 0, 1));
                _blueBrush = renderTarget.CreateSolidColorBrush(new D2D.ColorF(0, 0, 1, 1));
                _renderTarget = renderTarget;
                _d2DFactory = d2DFactory;            };        }
StrokeStyleProperties
关于 StrokeStyleProperties 需要说一下,就是各个参数。
从名字可以看到 StartCap 和 EndCap 就是线段的两端的图形,可以选的参数
- Flat
- Square
- Round
- Triangle
具体表示是什么,我会使用下面的例子
Flat
平的
            var strokeStyleProperties = new D2D.StrokeStyleProperties();
            strokeStyleProperties.StartCap = D2D.CapStyle.Flat;            strokeStyleProperties.EndCap = D2D.CapStyle.Flat;
            var strokeStyle = _d2DFactory.CreateStrokeStyle(strokeStyleProperties);
            _renderTarget.BeginDraw();
            _renderTarget.DrawLine(new D2D.Point2F(10,10),new D2D.Point2F(100,10), _renderTarget.CreateSolidColorBrush(new D2D.ColorF(1, 0, 0, 1)),2, strokeStyle);
_renderTarget.EndDraw();![]()
Round
圆的
            float h = 10;
            strokeStyleProperties.StartCap = D2D.CapStyle.Round;            strokeStyleProperties.EndCap = D2D.CapStyle.Round;            strokeStyle = _d2DFactory.CreateStrokeStyle(strokeStyleProperties);
            h += 20;
            _renderTarget.BeginDraw();
            _renderTarget.DrawLine(new D2D.Point2F(10, h), new D2D.Point2F(100, h), _renderTarget.CreateSolidColorBrush(new D2D.ColorF(1, 0, 0, 1)), 5, strokeStyle);
            _renderTarget.EndDraw();
Square
方形
            strokeStyleProperties.StartCap = D2D.CapStyle.Square;            strokeStyleProperties.EndCap = D2D.CapStyle.Square;            strokeStyle = _d2DFactory.CreateStrokeStyle(strokeStyleProperties);
            h += 20;
            _renderTarget.BeginDraw();
            _renderTarget.DrawLine(new D2D.Point2F(10, h), new D2D.Point2F(100, h), _renderTarget.CreateSolidColorBrush(new D2D.ColorF(1, 0, 0, 1)), 5, strokeStyle);
_renderTarget.EndDraw();![]()
Triangle
三角形
            strokeStyleProperties.StartCap = D2D.CapStyle.Triangle;            strokeStyleProperties.EndCap = D2D.CapStyle.Triangle;            strokeStyle = _d2DFactory.CreateStrokeStyle(strokeStyleProperties);
            h += 20;
            _renderTarget.BeginDraw();
            _renderTarget.DrawLine(new D2D.Point2F(10, h), new D2D.Point2F(100, h), _renderTarget.CreateSolidColorBrush(new D2D.ColorF(1, 0, 0, 1)), 5, strokeStyle);
_renderTarget.EndDraw();![]()
DashStyle
如果需要画虚线就可以使用 DashStyle ,虚线显示就是使用 CapStyle
![]()
            strokeStyleProperties.DashStyle = D2D.DashStyle.DashDot;            strokeStyleProperties.DashCap = D2D.CapStyle.Square;            strokeStyleProperties.DashOffset = 2;
            h += 20;
            strokeStyle = _d2DFactory.CreateStrokeStyle(strokeStyleProperties);
            _renderTarget.BeginDraw();
            _renderTarget.DrawLine(new D2D.Point2F(10, h), new D2D.Point2F(100, h),                _renderTarget.CreateSolidColorBrush(new D2D.ColorF(1, 0, 0, 1)), 5, strokeStyle);
            _renderTarget.EndDraw();
大家自己试一试就知道
里面还有属性 LineJoin 这个不是线段可以做的,是折线才可以使用,表示两个线段如何链接
矩形
画矩形使用 DrawRectangle ,参数需要传入 RectF 需要传入上下左右的浮点数。
_renderTarget.DrawRectangle(new D2D.RectF(10, 10, 100, 100), brush, 10);矩形有两个重载
public void DrawRectangle(RectF rect, Brush brush, float strokeWidth) public unsafe void DrawRectangle(RectF rect, Brush brush, float strokeWidth, StrokeStyle strokeStyle)矩形的 StrokeStyle 和线段一样。

椭圆
实际上画圆和椭圆是一样的,画圆的函数有两个重载
public void DrawEllipse(Ellipse ellipse, Brush brush, float strokeWidth) public unsafe void DrawEllipse(Ellipse ellipse, Brush brush, float strokeWidth, StrokeStyle strokeStyle)需要先创建 Ellipse 和笔刷。
创建 Ellipse 需要给圆心和两个轴,下面创建一个圆心在 (100,100) ,两个轴都是50的椭圆。实际上就是半径是50的圆形。
var ellipse = new D2D.Ellipse(new D2D.Point2F(100, 100), 50, 50);
这就是绘制基本的图形。
那么如何填充图形?实际上所有 Draw 都有对应的 Fill 函数,除了线段。所以填充就是调用对应的 Fill 函数。
尝试运行程序,看看这时的 CPU ,实际上是几乎不会动,因为所有的计算都在 GPU 计算。不过程序里的代码包括创建图形,实际上是在 CPU 创建,但是因为速度很快,几乎不需要计算,所以需要的时间很短。
文字
最后就是告诉大家如何绘制文字。
绘制文字需要使用 DirectWrite ,需要先创建 DWriteFactory 然后才可以绘制文本。
绘制文本有多个方式,因为需要的很多参数都不能直接创建需要使用 DWriteFactory 创建,所以这里需要先使用下面代码
var dWriteFactory = DWriteFactory.CreateFactory();创建文字有多个方法
public void DrawText(string text, TextFormat textFormat, RectF layoutRect, Brush defaultForegroundBrush)
public void DrawText(string text, TextFormat textFormat, RectF layoutRect, Brush defaultForegroundBrush, MeasuringMode measuringMode)
public void DrawText(string text, TextFormat textFormat, RectF layoutRect, Brush defaultForegroundBrush, DrawTextOptions options)
public unsafe void DrawText(string text, TextFormat textFormat, RectF layoutRect, Brush defaultForegroundBrush, DrawTextOptions options, MeasuringMode measuringMode)

public unsafe void DrawTextLayout(Point2F origin, TextLayout textLayout, Brush defaultForegroundBrush)
public unsafe void DrawTextLayout(Point2F origin, TextLayout textLayout, Brush defaultForegroundBrush, DrawTextOptions options)
因为有很多个参数,需要大家自己去试试
下面来写出简单文字

需要先创建 textFormat 需要告诉使用哪个字形,和字体大小
var textFormat = dWriteFactory.CreateTextFormat("宋体", 20);下面就是画出文字,文字换行可以使用\n,复杂的换行请使用文字重载方法,这里我就不说了
            _renderTarget.BeginDraw();
            _renderTarget.DrawText("lindexi 本文所有博客放在 lindexi.oschina.io \n欢迎大家来访问\n\n这是系列博客,告诉大家如何在 WPF 使用Direct2D1", textFormat, new D2D.RectF(10, 10, 1000, 1000), brush);
            _renderTarget.EndDraw();
需要说的是 Windows API Code Pack 1.1 已经很久没更新,而且有错误,所以建议使用 SharpDX
参见:Using Direct2D with WPF - CodeProject
https://jeremiahmorrill.wordpress.com/2011/02/14/a-critical-deep-dive-into-the-wpf-rendering-system/

本作品采用 知识共享署名-非商业性使用-相同方式共享 4.0 国际许可协议 进行许可。 欢迎转载、使用、重新发布,但务必保留文章署名 林德熙 (包含链接: https://blog.lindexi.com ),不得用于商业目的,基于本文修改后的作品务必以相同的许可发布。如有任何疑问,请与我 联系。